
I can remember the best strawberries I ever ate. I was in, of all places, Sweden, about 17 or 18 years ago. I was traveling with my parents, and there was a farm we passed every morning. The fields were a deep, dark green, but one morning, we drove by and half the field was suddenly a bright, light green. At the end of the field was a small farm stand with strawberries for sale. What I realized was that the field was full of strawberry plants, and the section of the field that was suddenly a light, bright green had been picked of its fruit. We stopped at the stand and bought a quart of berries. They were smaller than we're used to seeing in the grocery stores at home, and they were so ripe that they oozed juice into the palm of my hand. I bit into the berry, and I couldn't get over that amazing, sweet flavor. I looked at the berry where I had bit it in half, and to my amazement, the berry was red all the way to it's core. Red. Not white, but red. My parents and I stopped at that stand almost every day during the rest of our visit.
That experience left a deep impression on me, it made me appreciate that eating local, in season, and buying directly from the farmer can make such a profound difference in the quality of the foods we eat. I wish I could say that I ate local/seasonal/farmer's markets foods all the time, but I try to when I can. It's still too early in the season to get local strawberries at the farmer's markets, I can't wait for those. But the ones at the local grocery store were so beautiful (and on sale), I couldn't resist picking up a package.
Before I moved to Philadelphia, I worked at our company's location in Arlington, Virginia, where I was known as the "Cupcake Queen". I served as our store's primary pastry instructor, and one of our most popular classes was the cupcake workshop. I changed the menu five times a year--spring, summer, fall, holiday, and winter. I had students who I would see every time I changed the cupcake menu, and I'm told that they still ask after me, even 5 years later.
One of my favorite recipes was a strawberry cupcake from the spring menu. I've tweaked the recipe over the years, sometimes adding chopped white chocolate, sometimes using a cream cheese frosting. Today, staring at my bounty of strawberries, I decided to make a strawberry buttercream. I hope you enjoy them!
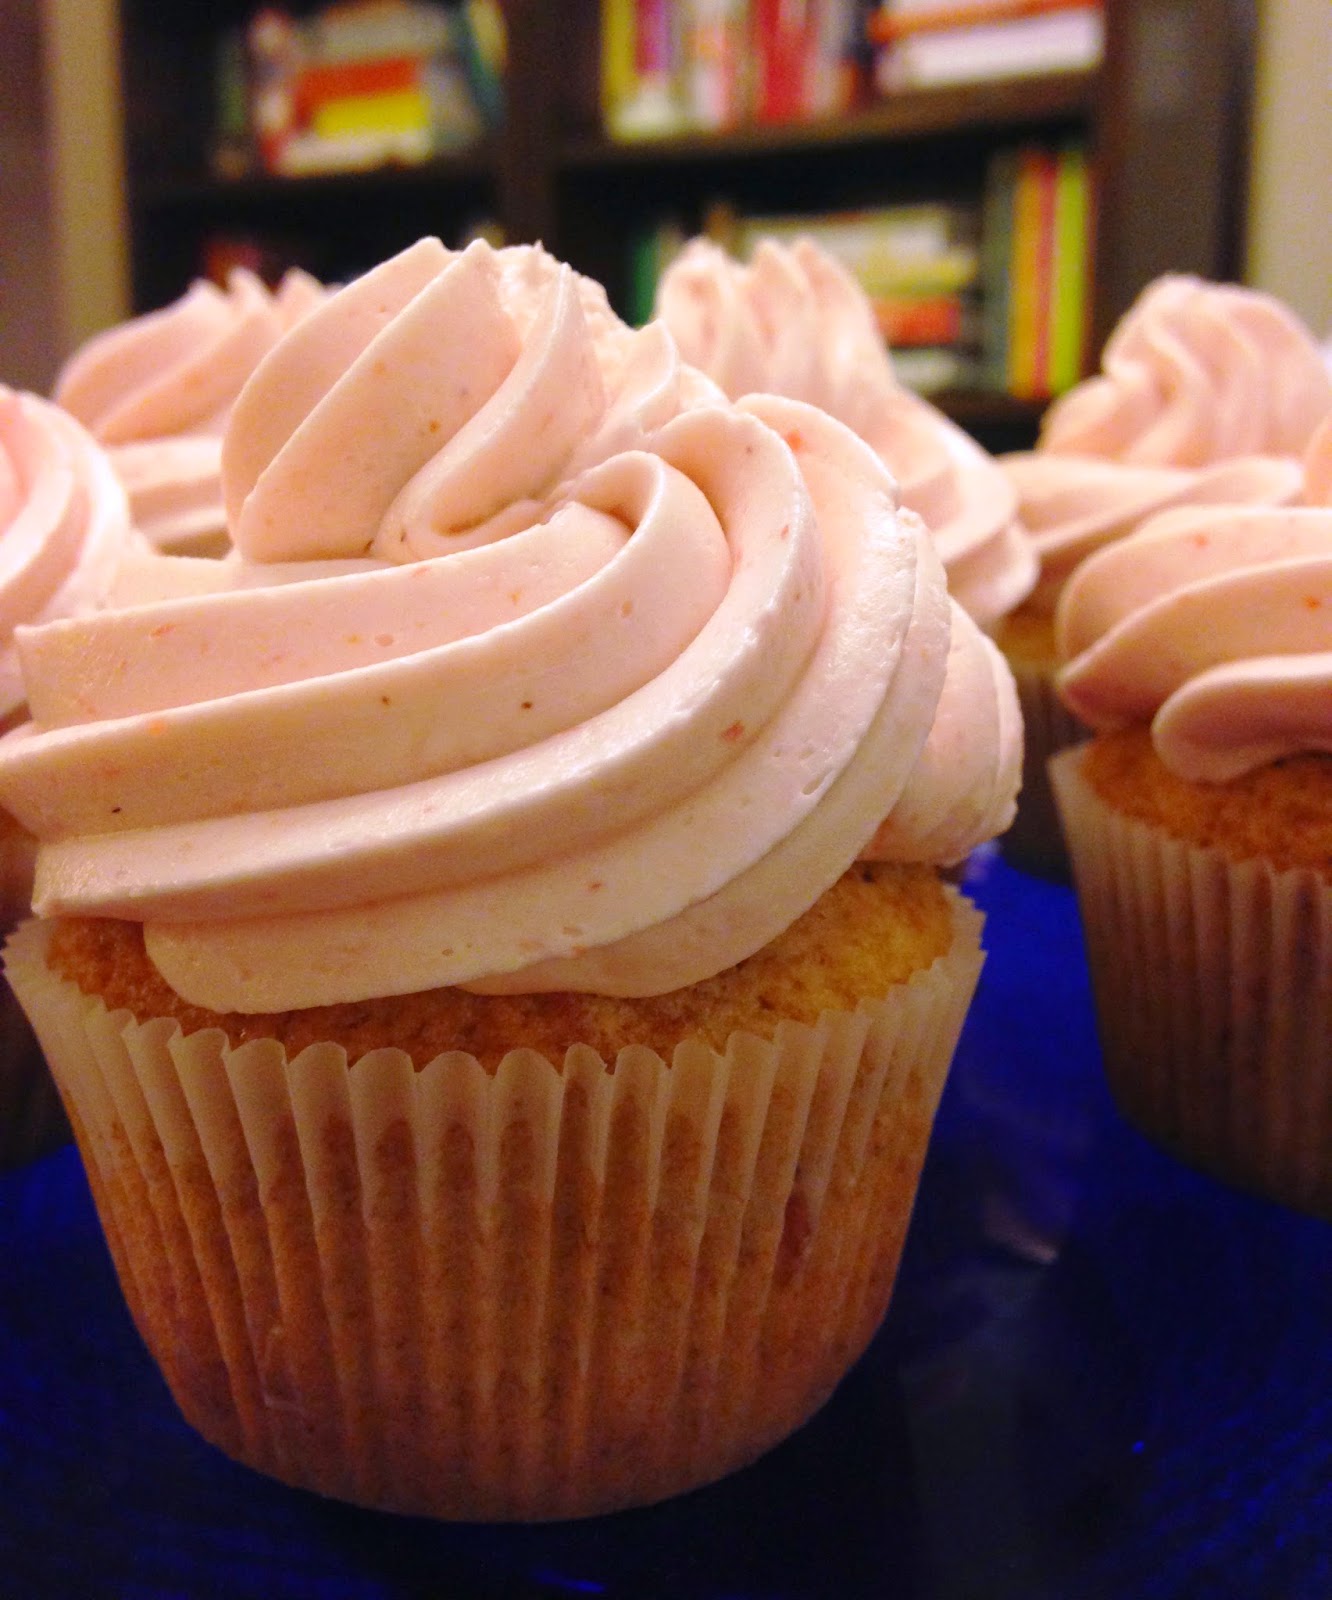
Strawberry
Cupcakes with Strawberry Buttercream
Makes
18 cupcakes
For
the cupcakes:
1 cup chopped
strawberries
¼ cup granulated
sugar
1 Tbsp water
1 cup unsalted
butter, softened
1 cup granulated
sugar
1 tsp vanilla
extract
4 eggs
2 cups all
purpose flour
2 tsp baking
powder
1 tsp salt
For the buttercream:
4 large
egg whites, room temperature
1 ½ cups granulated sugar
1 lb unsalted butter, softened
2 cups fresh strawberries, pureed and passed through a fine mesh sieve*
1 ½ cups granulated sugar
1 lb unsalted butter, softened
2 cups fresh strawberries, pureed and passed through a fine mesh sieve*
Preheat
oven to 350°F. Place 18 paper baking
cups in muffin pans.
 Place
the strawberries, ¼ cup sugar and water in a small saucepan over medium
heat. Cook, stirring occasionally until
the strawberries are soft, about 10 minutes.
Break up the strawberries into a pulp using a fork. Set aside to cool.
Place
the strawberries, ¼ cup sugar and water in a small saucepan over medium
heat. Cook, stirring occasionally until
the strawberries are soft, about 10 minutes.
Break up the strawberries into a pulp using a fork. Set aside to cool. Place
the butter and sugar into the bowl of a stand mixer. Cream on medium speed
until pale in color and light and fluffy in texture, about 3 to 4 minutes. Add
the eggs and vanilla extract and beat until combined. Scrape down the sides and
bottom of the bowl with a silicone spatula. In a separate bowl, whisk together the flour,
baking powder and salt, then add the flour mixture to the butter and egg
mixture. Mix on slow speed until combined, then scrape down the sides of the bowl.
Stir in the strawberry pulp (you can either mix it in completely, or leave it
partly mixed and swirled through the batter). Spoon the batter into the cupcake
cups, being careful to fill them evenly and to fill each cup no more than about
2/3 to ¾ full.
Bake for 17 - 20 minutes, or until a cake tester inserted into the
cupcakes comes out clean. Remove the pans from the oven and cool for 5 minute,
then remove the cupcakes and cool on a rack.
Place
the butter and sugar into the bowl of a stand mixer. Cream on medium speed
until pale in color and light and fluffy in texture, about 3 to 4 minutes. Add
the eggs and vanilla extract and beat until combined. Scrape down the sides and
bottom of the bowl with a silicone spatula. In a separate bowl, whisk together the flour,
baking powder and salt, then add the flour mixture to the butter and egg
mixture. Mix on slow speed until combined, then scrape down the sides of the bowl.
Stir in the strawberry pulp (you can either mix it in completely, or leave it
partly mixed and swirled through the batter). Spoon the batter into the cupcake
cups, being careful to fill them evenly and to fill each cup no more than about
2/3 to ¾ full.
Bake for 17 - 20 minutes, or until a cake tester inserted into the
cupcakes comes out clean. Remove the pans from the oven and cool for 5 minute,
then remove the cupcakes and cool on a rack.
To make the buttercream, place egg whites and sugar in the bowl of a stand mixer and
hand-whisk to blend. Bring 2 inches of water to a gentle boil in a medium
saucepan. Place the mixer bowl over the simmering water and heat, whisking
constantly, until the mixture reaches 160 degrees on an instant-read
thermometer.Immediately remove mixture from the heat, and attach bowl to a
stand mixer fitted with a whisk attachment. Whip the mixture on high speed
until the base of the bowl cools to room temperature, the meringue is light and
billowing and resembles marshmallow fluff. If the mixture is warm, it will melt
the butter you’ll be adding next, so touch the meringue and make sure it has
cooled to room temperature before continuing.

With the mixer on medium-high speed,
add the softened butter a couple of tablespoons at a time, allowing each addition to blend in fully before adding the next.
Halfway through the butter, stop the mixer and use a silicone spatula to scrape
down the sides of the bowl thoroughly. Continue until all the butter has been
added and the mixture resembles velvety mayonnaise.

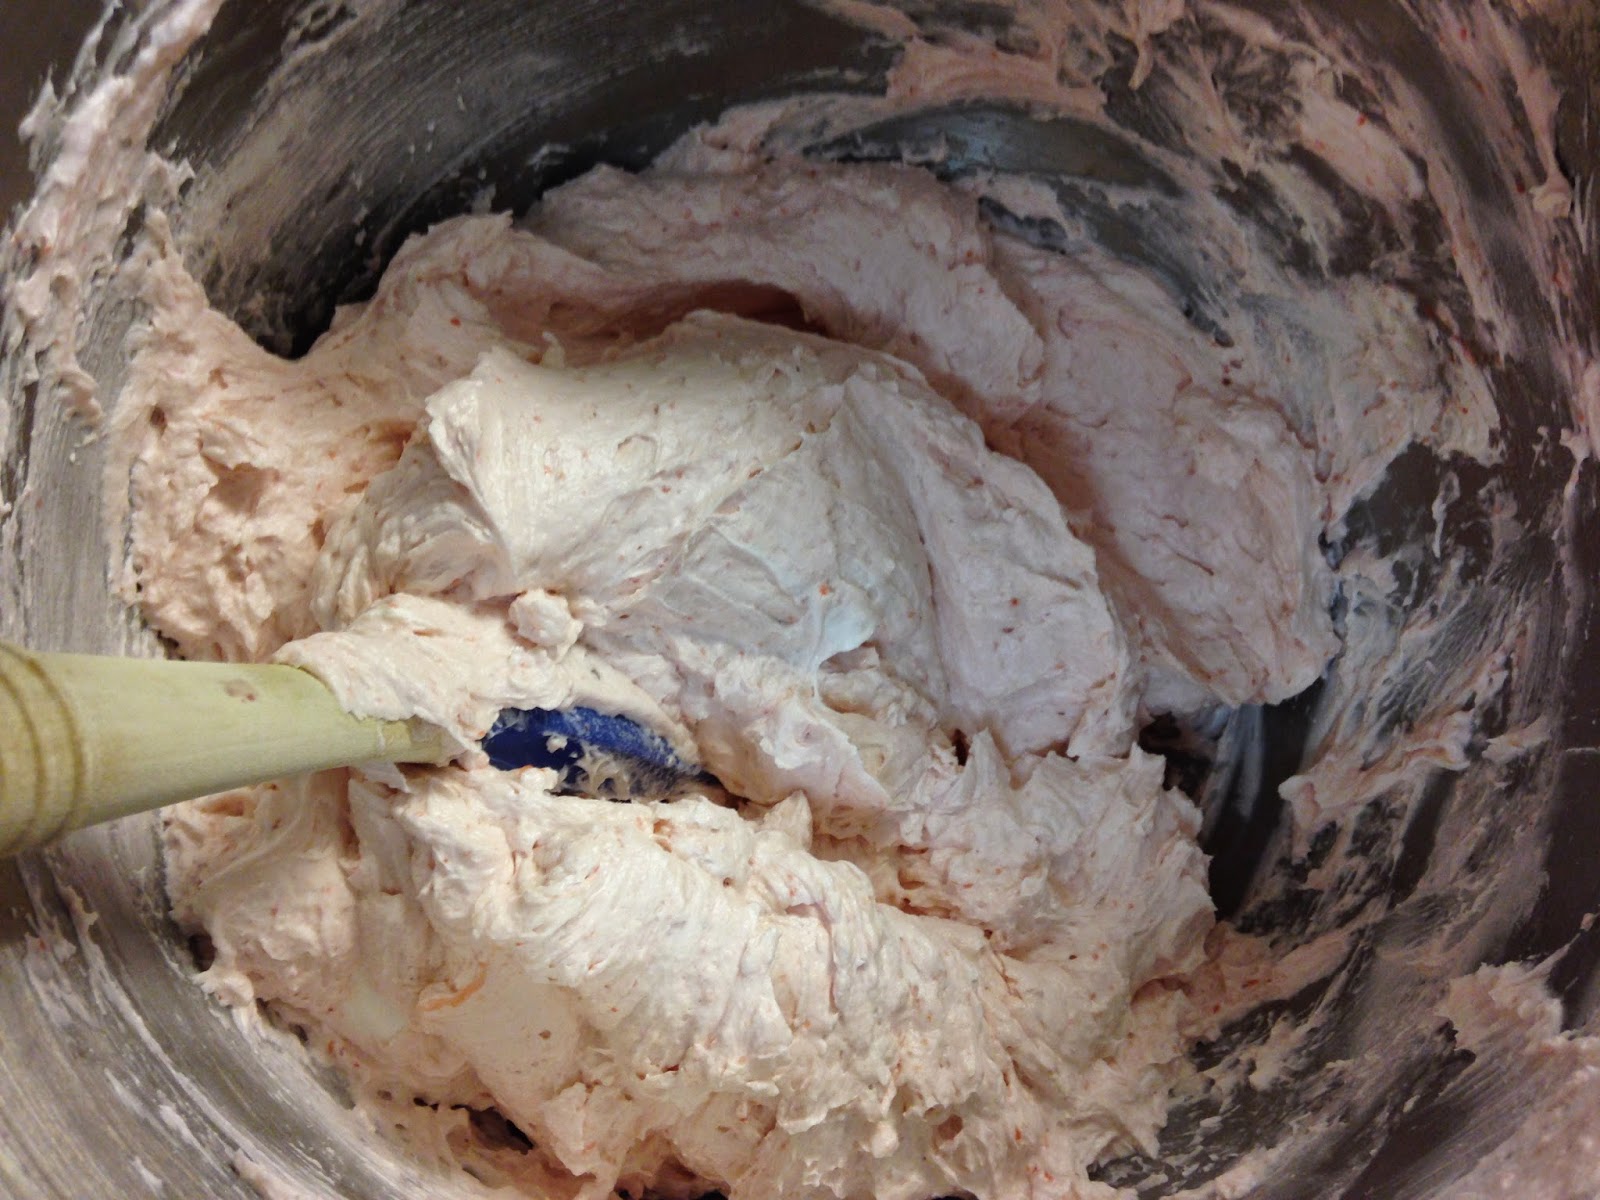
With mixer on low speed, add the strawberry puree
and beat until smooth, about 3 to 5 minutes, scraping down the bowl with a silicone spatula as needed. Do not be alarmed if the buttercream breaks, just keep mixing and the buttercream will absorb the puree. The puree not only flavors the buttercream, it also tints it a delicate pink color. Use immediately to frost the cupcakes, or cover, and
refrigerate for up to 3 days. Bring to room temperature, and beat on low speed
until smooth before using.
 *Pureeing the strawberries and passing them through a sieve will remove the seeds. Place the berries in a food processor and process until pureed.
Place the puree in a fine mesh sieve set over a bowl and press the puree against the mesh with a silicon spatula until only seeds and pulp are left.


